This is the third part in a multi-part series on how I built this site. In the last post, we used pelican-quickstart to build the framework of the site and wrote a short first post, then viewed a demo version of the site on localhost:8000. In this post we will add a custom theme to the site called pelican-bootstrap3. The pelican-bootstrap3 theme looks great and is mobile reponsive so it will make the site look good on phones and tablets. Then we'll add some custom css to personalize the look of the theme.
Steps in this post
We are going to accomplish the following in this post. By the end of the post we are going to have a a static site with a great looking bootstrap3 theme which is mobile responsive and looks great on desktops, tablets and phones.
- Activate our
staticsitevirtual environment - Pull the most recent version of our site from github
- Add a git submodule to our staticsite folder and bring in the pelican-themes repo from github
- Add a git submodule to our staticsite folder and bring in the pelican-plugins repo from github
- Modify the pelicanconf.py file to point to our new theme, and add a new plugin
- Build and preview the site with Pelican
- Add and commit the changes then push those changes to github
Big steps, it's really going to look like a website when we are done.
Activate our virtual environment and pull from github
Open the Anaconda Prompt and activate the (staticsite) virtual environment
$ conda activate staticsite
Then cd into the staticsite directory and bring in the most up to date version of the site stored on github.
(staticsite) $ cd ~
(staticsite) $ cd Documents/staticsite
(staticsite) $ git pull origin master
Use git submodule add to pull all of the themes into our local staticsite/pelican-themes directory
There are a bunch of different themes available for static site built with Pelican. The three I was most interested in were:
-
material
-
voidy_bootstrap
-
pelican-bootstrap3
We can bring in all of the Pelican themes stored on github by creating a git submodule. A git submodule is a sub-repository within a git repository that is linked to another repository. It is a way to bring in something else from github within a local repository and not have to keep a local copy up to date. Each time we "pull" from the submodule, we get the newest version of the pelican-themes repo on github. We don't have to manually track any changes to these themes and incorporate them to our local version. When the changes are made to the themes on github, we just pull those changes down to our local version. The lines git submodule init and git submodule update --init --recursive are important to call. If those two commands are not moved we'll end up with empty folders within the staticsite/pelican-themes directory. A lot of the themes are submodules themselves so the --recursive option has to be used to pull all of these submodules down. Without --recursive you can end up with empty folders.
To create the folder for our pelican-themes git submodule, ensure you are in the staticsite folder, then call:
$ pwd

$ git submodule add https://github.com/getpelican/pelican-themes.git
$ git submodule init
$ git submodule update --init --recursive
Ensure that we are still in the staticsite directory and pull down the pelican-plugins repo form github.
$ pwd

$ git submodule add https://github.com/getpelican/pelican-plugins.git
$ git submodule init
$ git submodule update --init --recursive
Now the contents of the staticsite folder should look something like:
staticsite/
├── LICENSE
├── Makefile
├── README.md
├── __pycache__
├── content
├── develop_server.sh
├── fabfile.py
├── output
├── pelican-plugins
├── pelican-themes
├── pelican.pid
├── pelicanconf.py
├── publishconf.py
└── srv.pid
Modify the pelicanconf.py file, so that we can use a new theme.
So far our pelicanconf.py file contains only default lines of code that Pelican built for us. In order to use a new theme, we need to edit this configuration file. After we edit the configuration file, the make html command will produce new .html pages in the output directory. The relevant lines to add and modify in the pelicanconf.py are:
#pelicanconf.py

PLUGIN_PATHS = ['pelican-plugins']

THEME = 'pelican-themes/pelican-bootstrap3'
BOOTSTRAP_THEME = 'flatly'

PLUGIN_PATHS = ['/path/to/git/pelican-plugins']
JINJA_ENVIRONMENT = {'extensions': ['jinja2.ext.i18n']}
PLUGINS = [
    'i18n_subsites']

I18N_TEMPLATES_LANG = 'en'
Taken directly from the pelicin-bootstrap3 README.md
... this template can be translated (see Translations below). You also need to activate a plugin that initializes the i18n jinja extension. One possibility is an up to date version of the i18n_subsites plugin.
So we need to make sure to include the i18n plugin in our pelicanonf.py file. Again from the from the pelicin-bootstrap3 README.md
If you are using i18n_subsites and you are not using English as your default language, make sure to also correctly specify the default language of the theme. Otherwise the translations will not be used on your default site.
Build and preview the site with Pelican
With the pelican-plugins and pelican-themes repos downloaded and the pelicanconf.py file edited, we can build the site and take a look at it with a web browser:
On MacOS and Linux:
(staticsite) $ make html
(staticsite) $ make serve
On Windows
(staticsite) $ fab build
(staticsite) $ fab serve
To view the site, point a brower to localhost:8000
Now, the site should look something like this:
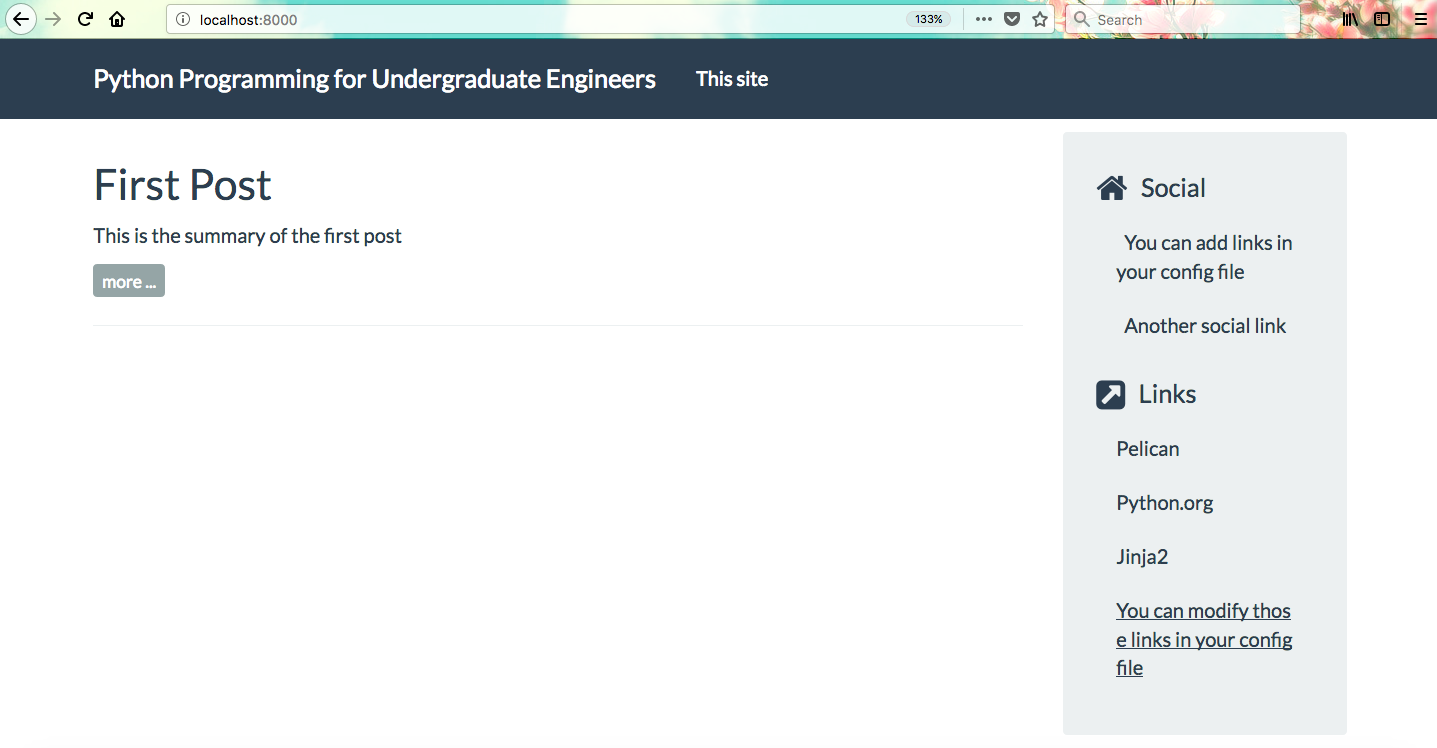
use ctrl-c to shut down the server.
Add and commit the changes then push those changes to github
When we are done editing the the site, we add all of the changes to our local git repo using git add .. Then we commit those changes with git commit and add the -m "added pelican_bootstrap3 theme" flag to give supply a commit message (make sure to use double quotes "commit message"). To push those changes up to github use git push origin master
$ git add .
$ git commit -m "added pelican_bootstrap3 theme"
$ git push origin master
In the next post we will add some additional pelican-plugins to bring extra functionality to the site and add the ability to include jupyter notebooks in posts.