This is the second part in a multi-part series on how I built this site. In the last post, we set up our development environment including Python, a new virtual environment, installed the pelican and markdown packages and set up git. In this post, we will use the pelican-quickstart command to get the blog off the ground. We are also going to create a first_post.md file and serve up the website locally so we can take a look at it.
Steps in this post
We are going to accomplish the following in this post. By the end of the post, we will have a working website with one blog post served up locally and an updated github repo with all the changes saved.
- Activate our
staticsitevirtual environment - Pull the most recent version of our site from github
- Use the
pelican-quickstartcommand to make a first version of the site - Write a first post in markup language (.md)
- Build the site using the
make htmlcommand - Serve the site locally using
make serveand view with a web browser - Add and commit the changes then push those changes to github
That's a lot to do, so let's get started.
Activate our staticsite virtual environment
I highly recommend installing the Anaconda distribution of python. If you followed along with the previous post, you already installed Anaconda and can pull up the Anaconda Prompt. Open the Anaconda Prompt and see which virtual environments are available.
$ conda info --envs
You should see a list of all the virtual environments conda has created on your machine. It should look something like:
staticsite                  C:\Users\user.name\AppData\Local\Continuum\Anaconda3\envs\staticsite
root                     *  C:\Users\user.name\AppData\Local\Continuum\Anaconda3
The staticsite virtual environment is the one we set up to create our site. Activate it with:
$ conda activate staticsite
You should now see (staticsite) before the command prompt. This means we are operating in the staticsite virtual environment.
View installed packages
We installed pelican, markdown and fabric in the last post. Let's make sure they are installed in our (staticsite) virtual environment.
(staticsite)$ pip freeze
Make sure you see the following modules are installed:
beautifulsoup4==4.6.0
Jinja2==2.9.6
Fabric==1.14.0
Markdown==2.6.9
pelican==3.7.1
Pygments==2.2.0
Pelican Quickstart - make the site!
We are now going to build the site! Exciting stuff. With the virtual environment and packages in place, we just need to make sure we are in a directory where we want our site to live.
(staticsite)$ cd ~
(staticsite)$ cd Documents
(staticsite)$ cd staticsite
You can confirm you are working in the staticsite directory by typing pwd which stands for print working directory:
(staticsite)$ pwd
Now we can spin up the settings and structure of our pelican build. Start the process with the command:
(staticsite)$ pelican-quickstart
Pelican will ask us a bunch of questions at the start. The initial settings I used are below. Make sure to change the title, author, URL prefix, and timezone:
> Where do you want to create your new web site? [.]
> What will be the title of this web site? Python Programming for Undergraduate Engineers
> Who will be the author of this web site? Peter D. Kazarinoff
> What will be the default language of this web site? [English]
> Do you want to specify a URL prefix? e.g., http://example.com   (Y/n) Y
> What is your URL prefix? (see above example; no trailing slash) https://username.github.io/staticsite
> Do you want to enable article pagination? (Y/n) Y
> How many articles per page do you want? [10] 5
> What is your time zone? [Europe/Paris] America/Los_Angeles
> Do you want to generate a Fabfile/Makefile to automate generation and publishing? (Y/n) Y
> Do you want an auto-reload & simpleHTTP script to assist with theme and site development? (Y/n) Y
> Do you want to upload your website using FTP? (y/N) N
> Do you want to upload your website using SSH? (y/N) N
> Do you want to upload your website using Dropbox? (y/N) N
> Do you want to upload your website using S3? (y/N) N
> Do you want to upload your website using Rackspace Cloud Files? (y/N) N
> Do you want to upload your website using GitHub Pages? (y/N) y
> Is this your personal page (username.github.io)? (y/N) N
Now we can create and view the site. The command make html will create the site and the command make serve will spin up a local webserver that allows us to view the site. If you are using windows, make commands may not work. Try fab build and fab serve instead.
On MacOS and Linux:
(staticsite)$ make html
(staticsite)$ make serve
On Windows:
(staticsite)$ fab build
(staticsite)$ fab serve
Point a web browser to: localhost:8000

The site will look something like:

We can shut down the server by typing ctrl-c
Write a first post in markup language (.md)
Time to write our first post. The contents of the staticsite directory should look something like:
staticsite/
│   develop_server.sh
│   fabfile.py
│   Makefile
│   pelicanconf.py
│   publishconf.py
│
├───content
├───output
└───__pycache__
To make a new post, we need to add a markup file (.md file) to the content folder. Let's call our first post first_post.md. Depending on the computer I'm using, I create .md files with different programs. One Windows 10, I have been using Code Writer. On Mac OSX and Linux, I use PyCharm. The first_post.md file saved in the content folder needs to have the form:
Title: First Post
Date: 2017-10-13 12:40
Modified: 2017-10-13 12:40
Status: published
Category: This site
Tags: python, markdown, blog
Slug: first-post
Authors: Peter D. Kazarinoff
Summary: This is the summary of the first post

This is the very first post!
After saving the file first_post.md in the content folder, the static site folder should look something like:
staticsite/
│   develop_server.sh
│   fabfile.py
│   Makefile
│   pelicanconf.py
│   publishconf.py
│
├───content
│       first_post.md
│
├───output
└───__pycache__
Let's build the site again and take a look at our new post.
On MacOS and Linux:
(staticsite)$ make html
(staticsite)$ make serve
On Windows:
(staticsite)$ fab build
(staticsite)$ fab serve
Again, point a web browser to: localhost:8000
The site will look something like:
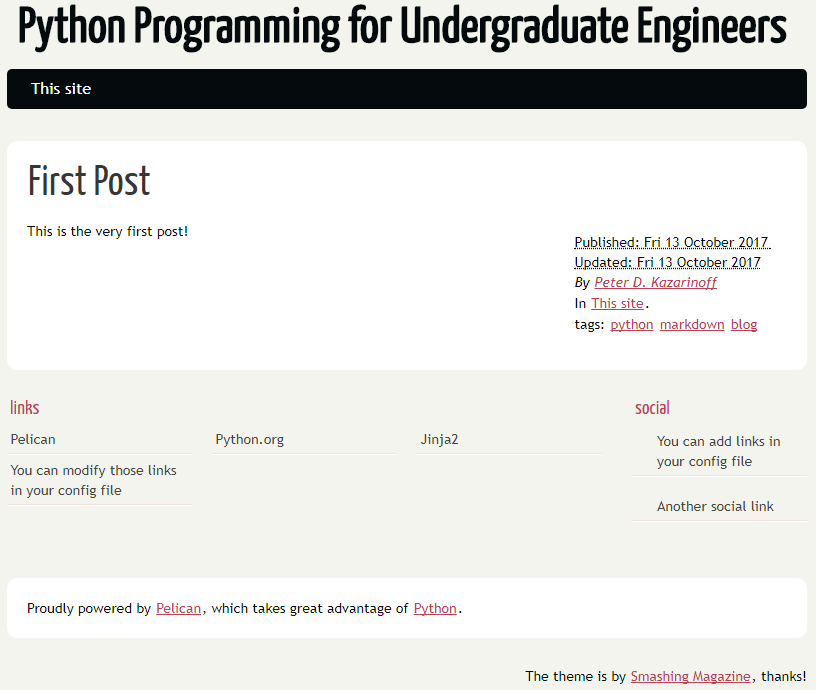
It works! I can see the first post!
We can shut down the server by typing ctrl-c
Add and commit the changes then push the changes to github
When we are done editing the posts and the site, we add all of the changes to our local git repo using git add . Then we commit these changes with git commit and use the -m "created pelcian static site" flag to supply a commit message (make sure to use double quotes "commit message"). Push those changes up to github with git push origin master
$ git add .
$ git commit -m "created pelican static site"
$ git push origin master
In the next post, we will customize the site with a pelican-theme called pelican-bootstrap3.